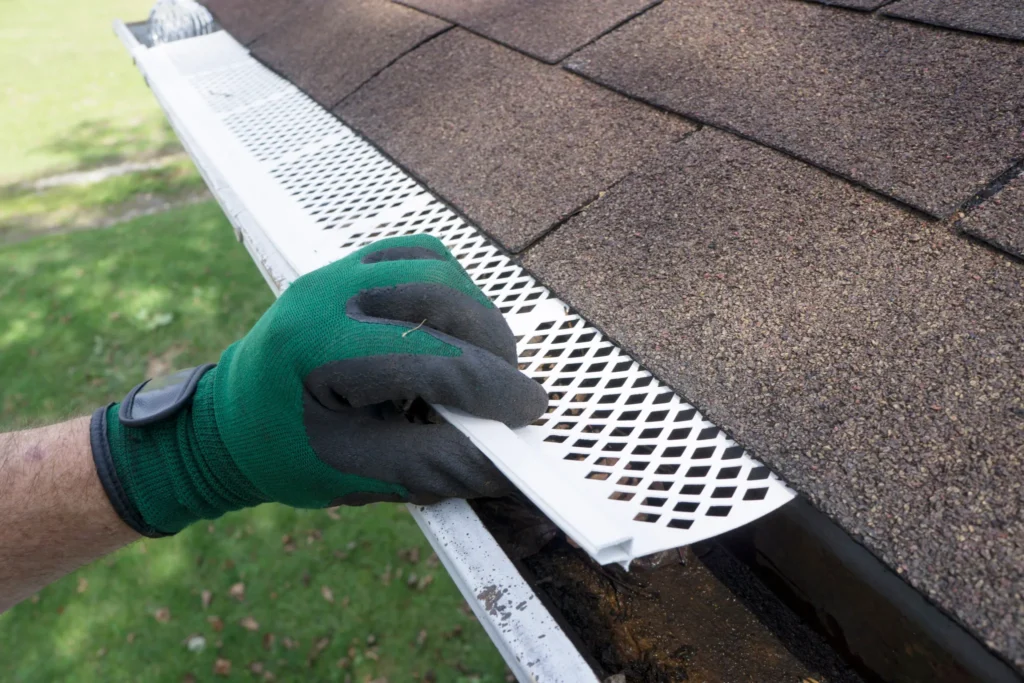
How to Install Gutters: A Step-by-Step Guide

Why Proper Gutter Installation Matters
Installing gutters is an essential step in protecting your home from water damage. Without a properly installed system, rainwater can pool around your foundation, causing structural issues, basement flooding, and soil erosion. Whether you’re a DIY enthusiast or planning to hire a professional, understanding the gutter installation process will help ensure your system functions effectively and lasts for years.
If you’re considering professional help, United Gutters provides expert services to ensure a seamless and efficient installation.
Tools & Materials Needed for Gutter Installation
Before getting started, gather the following tools and materials:
Tools:
✔️ Measuring tape
✔️ Chalk line
✔️ Level
✔️ Power drill
✔️ Tin snips or hacksaw
✔️ Ladder
✔️ Rivet gun
✔️ Caulking gun
Materials:
✔️ Gutters (aluminum, vinyl, or steel)
✔️ Gutter hangers or brackets
✔️ Downspouts
✔️ Gutter sealant
✔️ Screws and rivets
✔️ End caps
✔️ Elbows and connectors
Step 1: Measure & Plan Your Gutter System
The first step in gutter installation is to measure your roof edge to determine how much material you need.
- Measure the Roof Edge – Use a measuring tape to determine the length of your roofline.
- Identify Downspout Locations – Downspouts should be placed at low points to direct water away from the house’s foundation.
- Determine Gutter Slope – A proper slope ensures water flows toward the downspouts. A recommended slope is ¼ inch per 10 feet of gutter length.
- Mark the Slope – Use a chalk line to mark where the top of the gutter should be, ensuring a slight downward angle toward the downspouts.
Step 2: Install the Gutter Hangers or Brackets
The gutter system relies on strong support, so installing brackets correctly is crucial.
- Find Rafter Tails – Gutters must be securely fastened to the fascia board or directly to the rafter tails for stability.
- Install Brackets – Secure the brackets every 18–24 inches along the chalk line, ensuring they follow the slope.
- Check for Leveling – Use a level to confirm the slope direction.
Step 3: Cut & Prepare Gutters
Once the brackets are in place, it’s time to cut and prepare the gutters.
- Measure & Cut – Use tin snips or a hacksaw to cut the gutter sections to the correct length.
- Attach End Caps – Seal the ends of the gutter sections with end caps using rivets and gutter sealant.
- Cut Downspout Openings – Use a hole saw or tin snips to cut an opening where the downspouts will be connected.
Step 4: Attach Gutters to Brackets
With the gutters prepared, you can now attach them to the installed brackets.
- Position the Gutters – Place the gutter sections into the brackets, making sure they align with the chalk line.
- Secure with Screws – Drill screws through the back of the gutter into each bracket to hold it in place.
- Seal the Joints – Apply a bead of gutter sealant to all joints to prevent leaks.
Step 5: Install Downspouts
Downspouts direct water from the gutters away from your home’s foundation.
- Attach Downspout Outlets – Secure outlet fittings to the gutter openings using rivets and sealant.
- Assemble Downspouts – Connect sections of the downspout using elbows where needed.
- Secure to the House – Use downspout brackets to fasten the pipes to the house exterior at regular intervals.
- Direct Water Away – Use splash blocks or downspout extensions to channel water at least 3–5 feet away from the foundation.
Step 6: Final Inspection & Maintenance Tips
After installation, it’s important to check that everything is working properly.
✔️ Test the Flow – Run water through the gutters to ensure proper drainage toward the downspouts.
✔️ Check for Leaks – Inspect all joints and seams for any leaks and apply additional sealant if needed.
✔️ Clean Regularly – Keep gutters free of debris to prevent clogs and overflows.
✔️ Inspect Annually – Look for signs of sagging, rust, or damage and make necessary repairs.
If you need a professional touch, United Gutters provides expert gutter installation services to ensure durability and efficiency.
DIY vs. Hiring Professionals for Gutter Installation
While installing gutters yourself can save money, it also comes with challenges. Here’s a quick comparison:
| Feature | DIY Gutter Installation | Professional Gutter Installation |
|---|---|---|
| Cost | Lower upfront cost | Higher upfront cost but includes labor and warranties |
| Time | Can take a full day or more | Usually completed within a few hours |
| Skill Level | Requires knowledge of measuring, cutting, and sealing | Handled by trained professionals |
| Risk | Potential for improper installation | Guaranteed proper drainage and durability |
If you prefer professional assistance, check out United Gutters for high-quality gutter installation services.
Related Resource: How Much Do New Gutters Cost?
Curious about the price of new gutters? Check out our guide on What Does It Cost to Get New Gutters? for a detailed breakdown of materials, labor, and additional expenses.
Conclusion
Proper gutter installation is essential for protecting your home from water damage. Whether you’re a DIY enthusiast or considering hiring professionals, following these steps will ensure your gutter system is efficient and long-lasting.
For expert services, United Gutters offers professional gutter installation to safeguard your home with durable, well-installed gutters.
By following this guide and maintaining your gutters regularly, you’ll enjoy years of effective water management and protection for your home.
